How to take a font/glyph and add a background to create a new map icon
(Instructions created by Judith Arney 2009)
- Open Illustrator
- Create New Basic RGB Document
- New Document (e.g. 64 x 64 pixels)
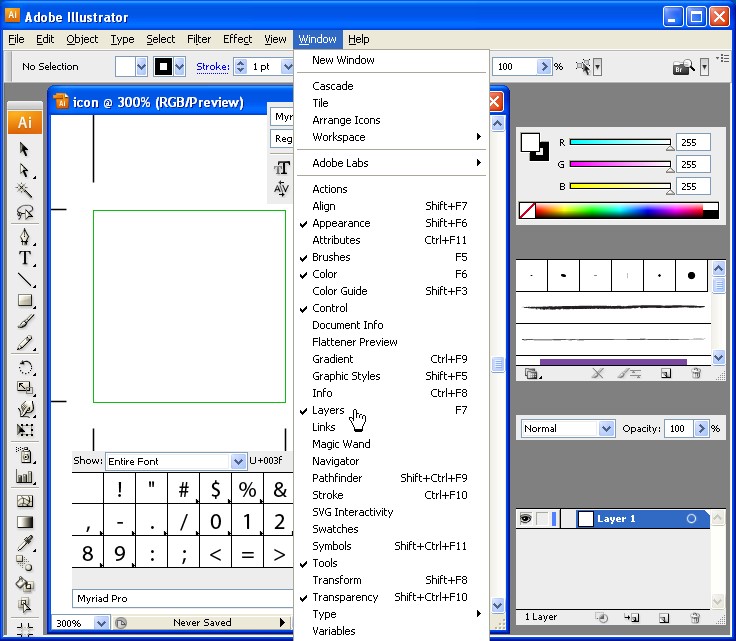
- Open Window > Layer
- Create Layers for backgrounds
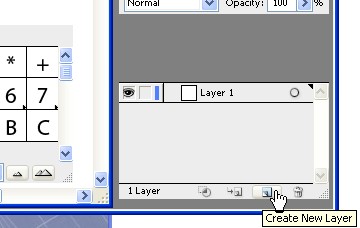
- Double Click the New Layer in list to access Layer Options

- To access the Tools, click Window > Tools
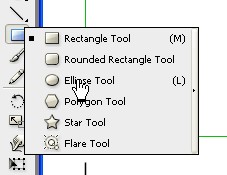
- Click & hold Rectangle Tool to access nested menu for Rounded Rectangle tool or circle tool...
- Open Type > Font - select a font you like (GM , VGM)
- Open Window > Type > Glyphs
- Click Type tool into icon area
- Select glyph
- Turn off all extraneous Layers (choose 1 icon, 1 background - click Eye)
- File > Save for Web & Devices
- Choose PNG24, transparency, Change size to 32x32 (Apply!)
- Save!
How to create an ORIGINAL icon using a current glyph
- New Layer
- Add glyph "model"
- Select glyph
- Left click object > Create Outlines
- Right-Click object and release compound path & ungroup
- Use open arrow tool (lower) to select and move vertices
- Hold down Pen tool to select peaked hat tool to create bezier curve bars?
- Use Pen tool to create new vectors, e.g. polygons...